In my post about that totally adorable DIY Scarf Kaftan, I mentioned I would try to post pics of my up-cycled yoga mat bag. I don’t have step by step instructions because I made this a few years ago, but I think you can get the gist from the pics. As I also said in that post, I am not a machine sewer. So, this project is easy for beginners and only takes a needle and thread. I’m sure you could also find a way to use the iron-on fabric tape or glue if you get crafty enough.
So, without explicit instructions, here’s how I made it:
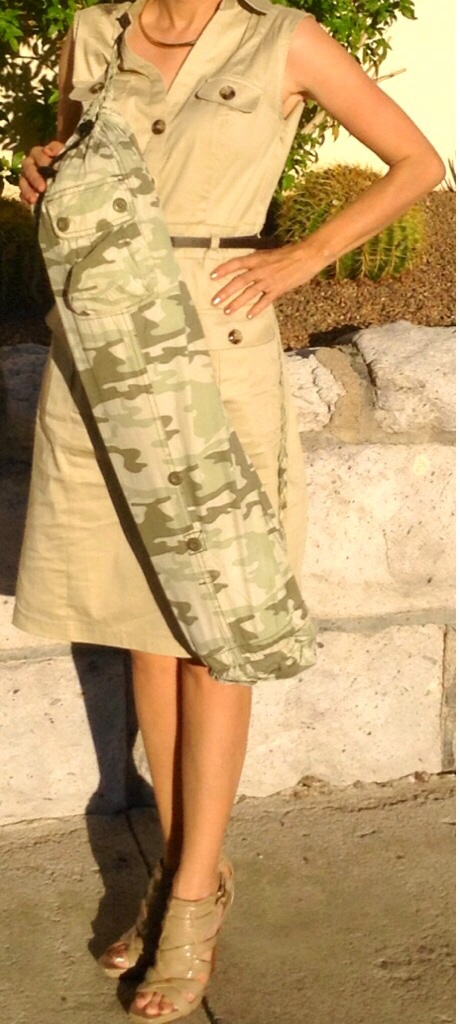
1) The Body: This was a pair of camouflage pants I found at a thrift store for $5. I cut one leg and used it for the main body of the bag. I measured the pant leg against the length of the rolled up yoga mat and then cut it, adding a few extra inches of material for the top of the bag. When rolled up, my mat is 24 inches lengthwise, so I may have measured 27 or so inches of material. There are probably a number of ways you can create a bag closure, but I chose to use a drawstring. I recycled one from a storage bag I had. You could use just string or ribbon, though (and a matching color might be cute). I sewed the drawstring around the top of the pant leg using the extra inches of material I left.
2) The strap: This pair of pants was a double blessing because it came with a matching braided belt. If you don’t have a belt, you can always use the material from the 2nd pant leg, ribbon, or any other material you fancy. I sewed one end of the belt to the inside of the top of the bag, and the other to the inside of the bottom. I held it up to myself to make sure it had a proper cross-body fit.
3) The bottom: The great thing about a lot of camo pants is that they have big poofy pockets (great for this project, anyway). As you can see in the pic, there’s one on the body of the bag. You can use just the flat pants material for the bottom, but I chose a pocket from the other pants leg. I liked the idea of pockets for this bag because you can store your keys, wallet, etc., without having to lug a purse to class with you.
So, that’s it. Easy as 1-2-3! I cannot remember how I even thought to make this bag, but I really enjoy it so much. Maybe one day I will learn a bit of machine sewing and make one slightly more professional, but this works for now! You can get creative with any thrift store pair of pants, or you can save even more by up-cycling ones you already have.


You must be logged in to post a comment.