Sage and Peppercorn Old Fashioned + Homemade Tinctures & Bitters

Perfect Thanksgiving Cocktail: Sage and Peppercorn Old Fashioned | Honest Fare.

I must say I don’t make many cocktails at home. But, when I do, I usually look for recipes with few ingredients. I usually save the fancy cocktails for dining out. I mainly drink wine at home, or I stick to old favorites like gin & tonic. I have beer on occasion as well, and it’s probably one of the only beverages I am not that picky about. I like craft brews, etc., but really…I will drink whatever if it’s cold, haha.

Sage and peppercorns add a nice twist to this recipe, but still make it a pretty simple preparation. The blog writer thought it would be nice for a Thanksgiving libation, so you might keep it in mind come holiday time. If you want to get more involved in creating your own cocktail concoctions, you might take a look at these links: Homemade Bitters and Homemade Bar Tinctures. I am going to start off with the tinctures first, as they are the easiest!

Tucson Urban League | Empowering Communities Changing Lives

Tucson Urban League | Empowering Communities Changing Lives.

Continuing in my posts about charitable organizations, I wanted to highlight the Tucson Urban League:

“The Tucson Urban League is an empowerment center. Our programs identify people in need and connect them to services to eliminate opportunity disparities and increase economic and social outcomes. For over 43 years, our programs have been critical to making our region’s economy grow and meet today’s workforce needs. Our programs address the needs of Southern Arizonans of all ages and ethnicities and move people out of poverty and into a livable wage to support their families and community…

The mission of the Tucson Urban League is to advance economic and social prosperity for African Americans and other under served Tucson area residents by creating access to opportunity through advocacy, community partnerships, and programs and services.”

The Urban League here in Tucson, Arizona serves the community in areas such as affordable housing, childcare centers, employment and training help, K-8 tutoring and mentoring, breakfast and lunch programs for seniors, utility assistance, and weatherization services. If you reside in Tucson, you might consider giving your time or charitable donations to this worthy resource center. If you live elsewhere, I hope you will still check out the link and let it inspire you. These types of services are much needed in the area, and I am truly blessed by the dedication of this organization’s team.

WhirlwinDISH 24

I didn’t go too wild with my WhirlwinDISHes this time — just a few updates to some of my fave comfort foods. As I said in my last post, I have not been feeling my best this week. So, I thought a bit of rice pudding for Rosh HaShanah would cheer me up! I made it with cow’s milk sweetened with honey and traditional flavors like nutmeg and vanilla. I decided to use forbidden rice instead of my usual white or brown, then topped it with unsweetened whipped cream, fresh pom syrup, and pom seeds. The finished pudding was actually a little more purplish than the black that the pic shows (and sorry, I didn’t realize the pudding smudged a bit of the glass, making it harder to see). It was SO good and just the thing I needed. A perfect Rosh HaShanah treat!

I figured I would include a couple more fairly simple dishes (nothing fancy!) with forbidden rice this posting. I made a baked soup/casserole, as the weather has finally cooled off here in Tucson (80s & 90s vs. 100+ degrees 😀 ) — yellow split pea and forbidden rice flavored with garlic, onion, smoked paprika, s&p, and lots of cilantro. Cilantro is one of my favorite things, so I find ways to (over)use it for tons of different meals. I actually hated it when I first tried it, but it grew on me. Good thing, too — living in the Southwest, it’s in many a dish. I haven’t made a baked soup with split peas before, but I kind of think of it as a version of my typical beans and rice. The pic doesn’t look all that great, but it was pretty tasty and satisfied my need for comfort cooking (and cilantro). More cilantro: other pic is a tortilla made from whole and heirloom wheat flour with beetroot powder & juice, forbidden rice, and a fried egg. Super easy!

imageimageimage

Rosh HaShanah Recipe: Holiday Salad with Apple & Honey Vinaigrette

Busy in Brooklyn » Blog Archive » Holiday Salad with Apple & Honey Vinaigrette.

I wanted to post a few more recipes for Rosh HaShanah, but I have not been feeling my best this week. I did find this incredibly simple to make, but also incredibly appetizing salad, though. The blog writer did not create it specifically for Rosh HaShanah, but felt it would be a perfect fit. I think so, too. If you are unfamiliar with Rosh HaShanah or Kosher dietary laws, here are a few links to get you up to speed: Kosher Dietary Laws & About Rosh HaShanah.

Even if you are not celebrating, I hope you check out this light and tasty-looking creation. I think it would make a beautiful starter for an elegant meal.

How to (& Why) Soak Seeds, Nuts, Grains, & Beans, & Homemade Sprouted Flour

I remember thinking “yuck” when I first learned about soaking and/or sprouting nuts. I guess I related it to boiled peanuts, which is something I never want to have again, lol. This link gives a little more insight:

How to Soak and Sprout Nuts, Seeds, Grains, and Beans

“Nuts, seeds, grains, and beans are nutritional powerhouses. However, the natural agents that protect them from early germination can wreak havoc in our digestive system. Soaking and sprouting replicates germination, which activates and multiplies nutrients (particularly Vitamins A, B, and C), neutralizes enzyme inhibitors, and promotes the growth of vital digestive enzymes.

Soaking and sprouting is very easy. The method is exactly the same for nuts, seeds, grains, and beans—only the time required for full germination changes. (See the table below.)

Please note: Many “raw” nuts and seeds have been pasteurized and irradiated. Truly raw almonds and peanuts will sprout, but those that have been pasteurized and irradiated will “activate” with soaking, but will not physically “sprout.” However, soaking still removes anti-nutrients (compounds that can interfere with the absorption of nutrients), increases nutrient density, and makes the nuts more digestible.”

I have been enjoying my sprouts after posting that nifty canning jar tip using plastic needlework canvas (see pic) — especially my lentil sprouts. I like to use lentil sprouts in different dishes, but I also love just munching on them for a quick snack. The above link also gives soaking and sprouting timelines and instructions for your raw and cooked dishes, plant-based milks, and plant-based butters. I soak my seeds for raw tahini (pic). If you like sprouting grains, you can also make your own flour from them. There are probably a number of ways you can accomplish that, but here is a link if you are interested: How to Make Sprouted Grain Flour. I have used a blender or a spice mill to make my flours before, but a professional grain grinder can be a great investment (if you find you start to really enjoy making your own). Professional grinders have several benefits and usually do not heat the grain as it is processed.

Happy soaking and sprouting!

image

image

Recycled Containers & DIY Adhesive Remover

OK, I admit I probably recycle too many containers. I periodically have to go through them (usually when there is no more space) to decide which ones I should keep…and let me tell you — it’s an inner battle! If I start thinking about all of the things I can do with them, it will never happen. I have to just hold my breath and do it cold turkey. I also admit I sometimes just buy products for the container they are in and not the actual product itself. So, I usually keep those.

I have way more, but about a few of the ones I’ve pictured: My current fave containers are my Noosa Yoghurts (The BEST Yoghurt! SO good!). The 8 oz. is a perfect one portion meal size (and the 16 oz. for two) — great to go in the fridge or freezer. They are also great for organizing smaller objects like ‘shop’ type items (nails, screws, nuts and bolts), office supplies, craft supplies, etc. I also love the large containers that many spices come in with a 2-sided flip top (see pic, with the green top). They are designed to be easy to hold, so you can grab them quickly out of the cupboard. I usually store bulk grains or rice in mine, but they could be used for a number of things. I have other purchased storage containers I can (and do) use, but I like that the ‘pour’ side of the top makes for easy measuring. Also, even if it’s not your brand of choice, check out the pic of the cute soy sauce bottle. It has a stopper inside, so you can take it with you to the office or wherever for lunch. If you don’t do soy sauce, it’s great for vinaigrettes, etc.

You can also always use your containers for your own homemade versions of what you purchased. I do that with hot sauce, mustard, nut butters, mayo, and more. You can use a soup can in place of a cookie cutter, but I also collect them around the holidays to bake quick breads in to give as gifts. I’m not the only one recycling, though. My fave coffee shop recycles their jelly jars into customer to-go juice jars. So, of course I keep those. 🙂

Lastly, if you are a container recycler like I am, here’s a link for a homemade chemical-free adhesive remover. It’s just a mixture of coconut oil and baking soda. I found links that also called for a few drops of essential oil or just essential oil and baking soda. I have used nut butter and baking soda and found that to be successful (and possibly cheaper). I tried just nut butter first because I remembered it is advised to put it in kids’ (or perhaps adults’) hair to remove chewing gum. It was OK, but the addition of baking soda really helped it along. I always soak the label in hot water first to see if that will do the trick. If the adhesive is fairly old and sticky, try using a scrubby or stainless steel sponge after applying the oil and baking soda.
image

The Many Uses of Spelt

As I said in a previous post, I have been milling a lot of my own flours. Recently, I had a bit of spelt, so I used it for several baked goods. It’s also great cooked up and used in salads, soups, porridge, hot dishes, or puffed (like rice or traditional common wheat). You can serve it as a side, but it can easily be a main. I’ve pictured one dish I made a few weeks ago. It’s actually a mix of spelt and an heirloom wheat. I made this various ways, but in this pic is: roasted cauliflower, bell peppers, snow peas, chard, sprouted spelt, and Turkish olives. I was going to use pepitas, but I had some pistachios from the farmers’ market. I dressed it with a spicy tahini sauce. I briefly saw a recipe for a spicy almond butter roasted cauliflower a few years back, but I didn’t write it down. I couldn’t remember the sauce prep exactly, so I’ve made it many times just according to my own taste. Most of the time, I’ve used tahini, and it includes some sort of chile, garlic, soy sauce, vinegar, maybe some type of onion, and a hint of something sweet (like agave or honey). It’s a common type of sauce, and I’ve used it for many different types of meals. I made this dish hot, but it’s also great served at room temp.

I used a blender to grind the spelt, but you can use a spice mill if you have a smaller quantity. I like the spice mill for smaller grains and seeds like flax or teff. I found this fab recipe for 5-Minute Artisan Bread and replaced the whole wheat flour with spelt flour. I was intrigued by the ‘5 minutes’ and did find it to be quite simple. Back in the day, I would bake bread and cook a big pot of spaghetti twice a week. That was the bulk of my meals, haha. I made a couple other minor changes by replacing the water with beer, using agave instead of sugar, and leaving out the herbs. I used a cast iron pot to bake it in and wasn’t sure how it would turn out. It worked wonderfully, though. I use cast iron pans for nearly everything now, even when I probably shouldn’t. My mom has always used them, but I used to always get sucked in by whatever looked ‘cool’ or advertising promises. All I care about now is that they are way easier to clean than many other pots and pans, lol. I search for them at yard sales or thrift stores, but I haven’t found most to be real ‘SQUEAL DEALS.’ People must know what they’re worth! Anyways…this recipe only requires mixing with a spoon, but I took a short cut and processed it. It’s one of the better recipes I’ve made, so check it out. Pretty easy! *Make sure you link to the additional website for adjustments if you want to make a bread with more whole grain vs. AP flour.* It was great right out of the oven, but also made yummy toast (see pic) and sandwich bread.

I also made tortillas and tortilla chips from the spelt flour with just oil, salt, water, and my chard powder. Yums! I often use tortillas for a quick pizza base, so I used one for a veggie pizza. I needed to use up some Brussels Sprouts and Zucchini, so I topped the pizza with them and some red sauce. I charred the veggies on the stove first, though, and added crushed red pepper to make them a little spicy. Wow! That spiciness went through the air, and I had to open up all of the doors to breathe. I don’t know why I always forget that!

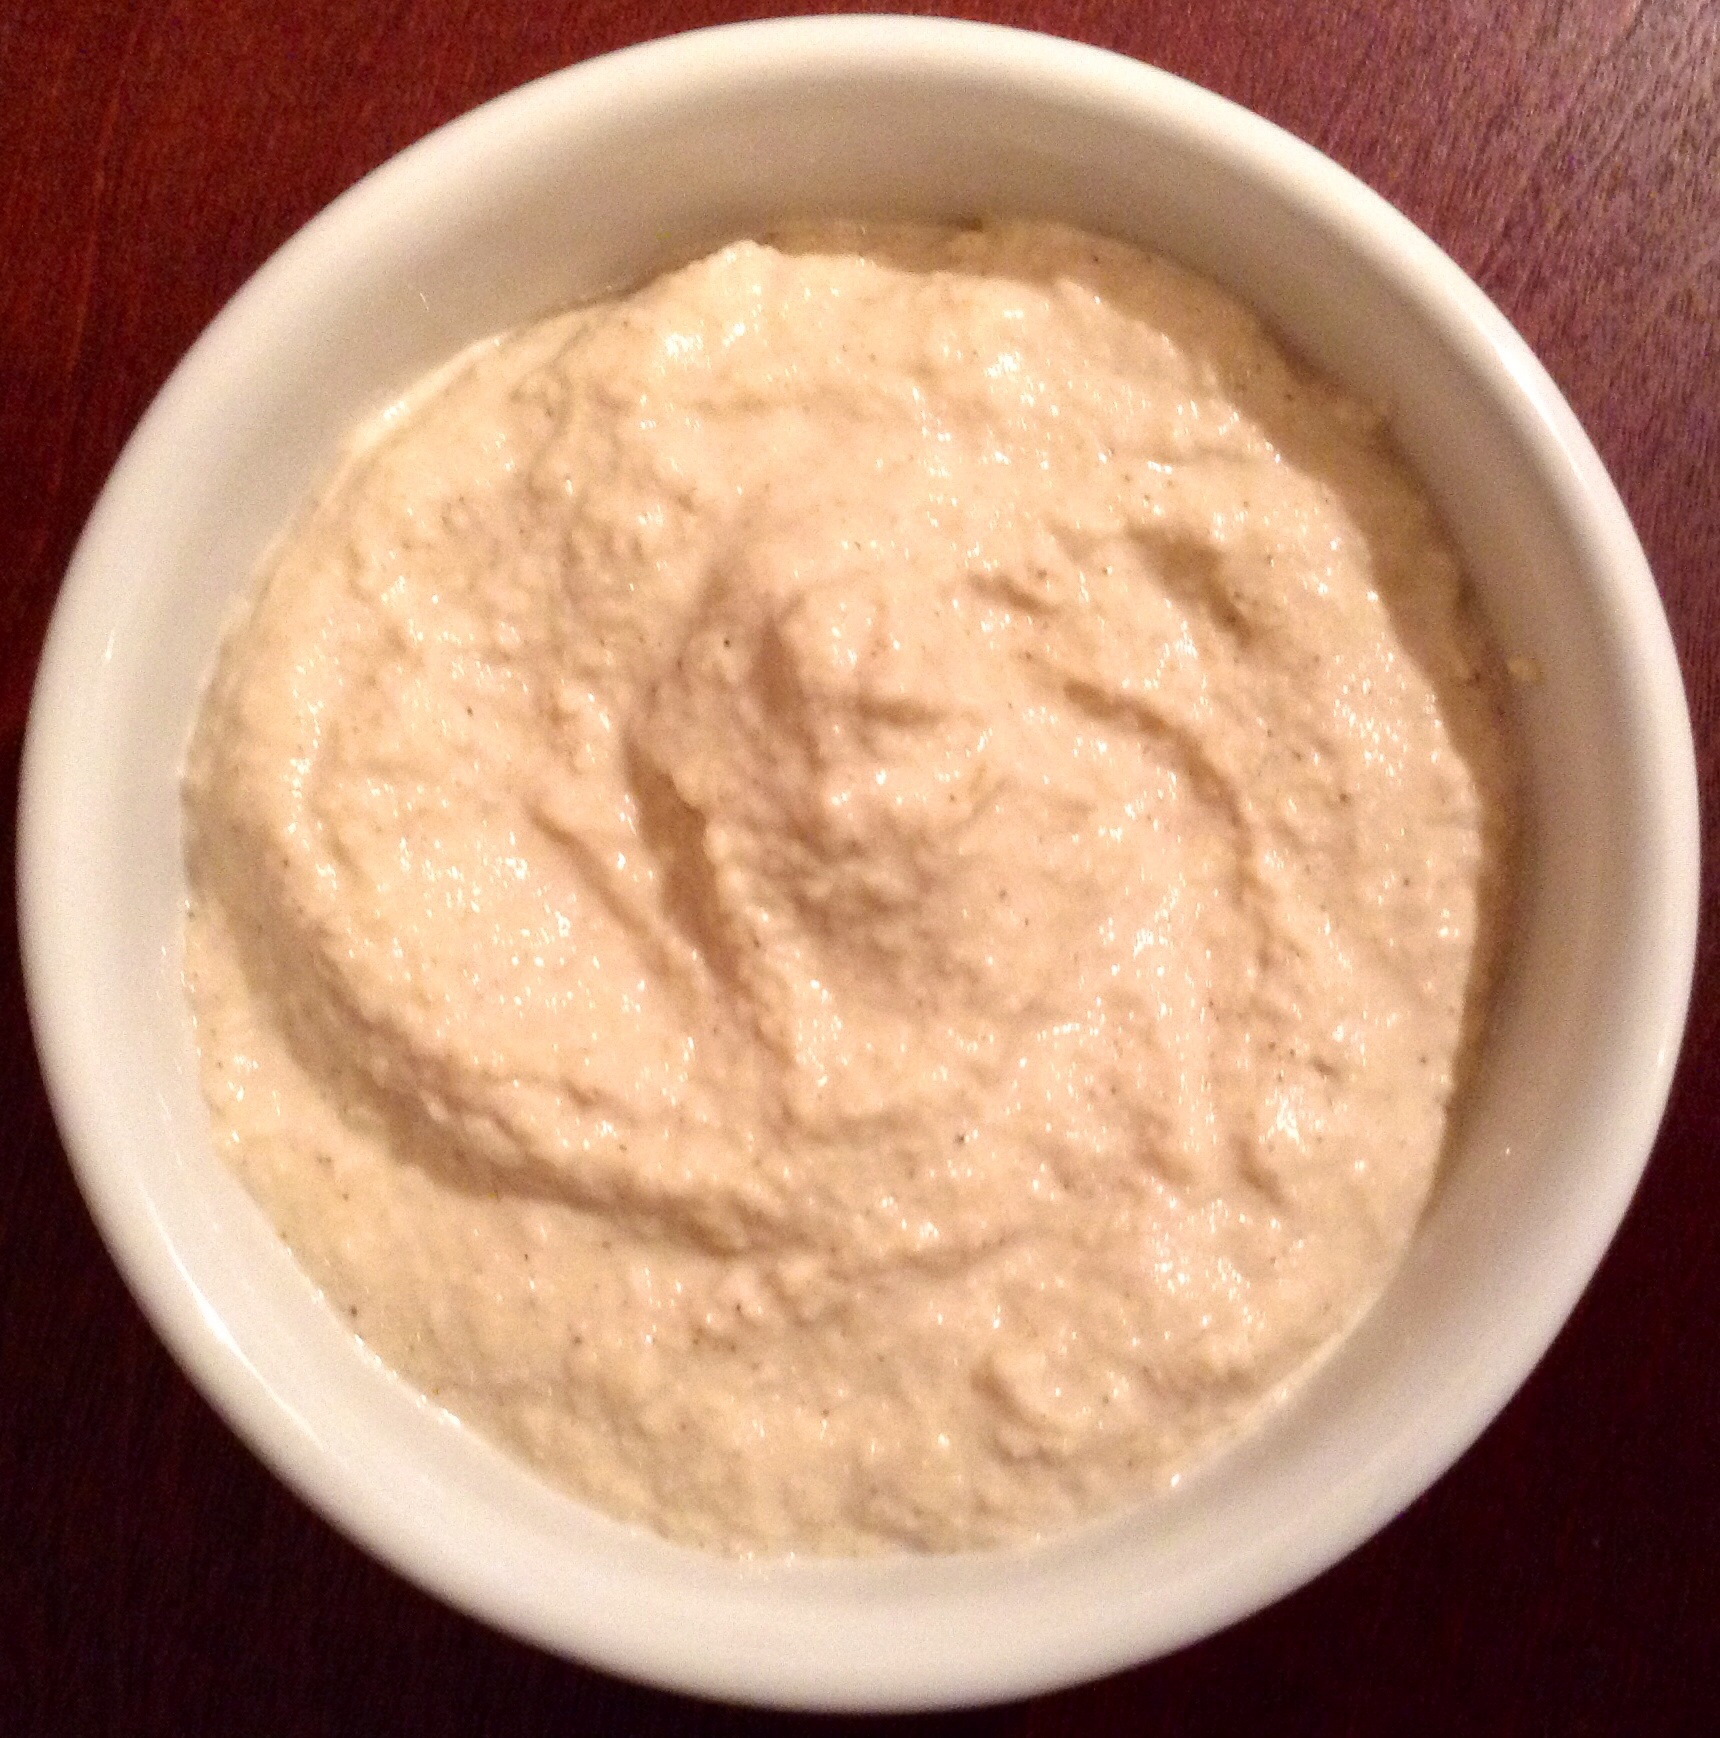
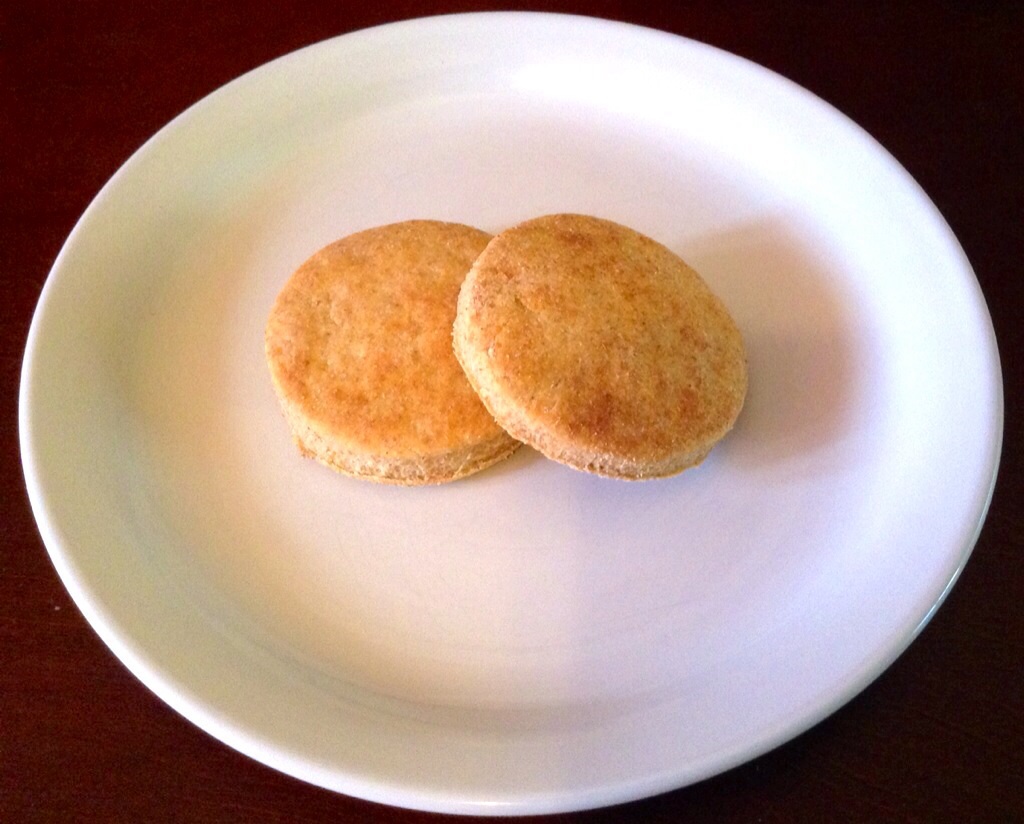
My last pic I just included to tell the funny story about how my mom forgot to add baking powder to her buttermilk biscuits one day. She rarely uses recipes (even for baking), got distracted and forgot it. They weren’t rolled out, just kind of patted down flat with the palm of the hand. So, of course, they didn’t rise…poor, pathetic looking things. I kept myself from laughing and tasted one. They actually were pretty good! Dense, moist on the inside, crispy on the outside with a tangy buttermilk flavor. Perfect to go with my cup of chai, I thought. So, I called them buttermilk ‘bookies’ because they were like a biscuit/cookie. I don’t know the exact recipe proportions she used (knowing her, though, it probably had a ton of butter), but I own up to having actually made them on purpose now, lol. After they are pretty much done cooking, I give them a hit under the broiler to brown on top. I tried one batch with just spelt flour, but I preferred the texture of the next batch I cut with a little AP flour. They remind me of when you get a thick piece of pie crust, but with the nice tang of buttermilk. Or, like when you get the crunchy top of a muffin. Anyway, even if it’s silly, I like them for a treat with my tea!

image image image

Traditional Scottish Recipes

Traditional Scottish Recipes – Scottish Culture.

I know I should, but I have never been one to get too involved in political matters. Waiting for the results of the Scottish Referendum for Independence, though, was more interesting to me than anything of the sort since…well, in a very long time. The majority has ‘spoken’ and has chosen to remain a part of the United Kingdom of Great Britain. So, I celebrate with those who are happy for this outcome and mourn with those who wish things had turned out differently.

I haven’t had a great deal of Scottish food in my lifetime, so I thought I would post a link with some traditional recipes. Dishes such as bannocks, haggis, drop scones, herring in oatmeal, roastit bubbly-jock, Scotch collop, tablet, tweed kettle, and whisky toddy are included. Take a look and see what you think!