Kitchen Equipment List | Elle A Cooking.

I thought I would share this link about basic equipment for your kitchen. I absolutely love any type of kitchen gadget, and it’s probably one of the only things I don’t mind spending a bit of money on. But, my blog is called ‘La Cashionista,’ so I thought I would throw out a few inexpensive substitution ideas. I thought some of you may be just starting to stock your kitchens (or know someone who is), or you may just want some ideas for simple swaps.
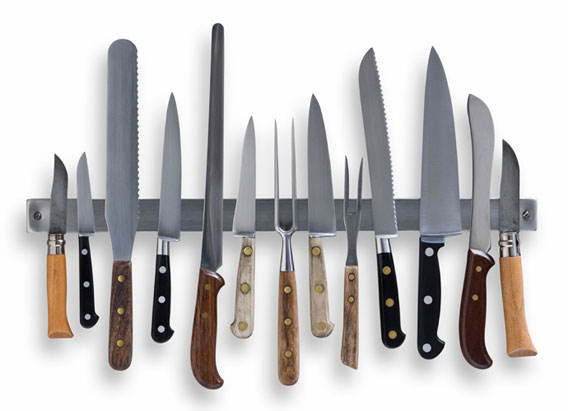
Before I get to that, though, I want to gush about a few kitchen items that I love, love, love (just basic stuff, not the fancy gadget-type things). The first thing anyone who knows me will tell you is that I absolutely adore my Forschner Victorinox bread knife. I gave away a couple thousand dollars worth of knives in lieu of this one. Not kidding. I use it for nearly everything (even if it’s not “proper”), except perhaps paring and boning. I have already written about my fondness for cast iron pots and pans. Besides being easy to clean, they can double as a serving dish. A few other faves that come to mind: my rubber spatula with curved up edges (spoon/spatula), food processor, blender, mandolin with julienne blades, slow cooker, veggie peeler, zester, graters, chinois, and misto sprayer. These are some of the items I wouldn’t want to be without.
As for equipment substitutions, here are a few I’ve thought of:
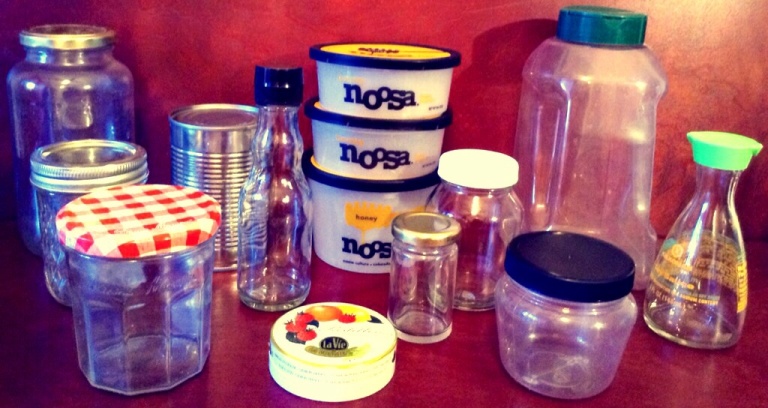
1) I mentioned in an earlier post about subbing a soup can for a cookie cutter.
2) I often use the food processor for doughs instead of a stand mixer, as it can be quicker. They are easy to use and will also slice, chop, mince, grate, shred, and julienne with the attachments. If you are lacking space, though, a mandolin and a small and large grater can be useful (and a cheaper purchase). Also, look for ‘no-knead’ recipes if you prefer not to knead dough by hand (and a mixer or processor is not an option).
3) Don’t have a fancy tortilla press? Just use a heavy object like a book to smash your little balls of dough. Or, if you’re crafty, make one yourself: DIY Tortilla Press. If you enjoy woodworking, you might also try making your own cutting board. Really crafty, try making your own wooden spoons.
4) OK, I know you already know this, but…just use the pot lid to strain out your pasta water instead of a colander. And, if you’re already in a lazy mood, just use the biggest frying pan you have to boil your spaghetti water (vs. that mammoth stock pot). I know it’s not proper, haha, but the water will boil faster. Plus, who cares about proper when we need to get to eating!
5) If you don’t have an actual pasta machine, use a pizza wheel to cut your homemade dough for pastas like fettuccine (I saw this somewhere, but don’t have the link). Good for homemade tortilla chips, too.
6) A good blender is a great investment. But, if you’re only going to make protein shakes for the gym, try buying a bottle with a ‘blender ball’ inside to save a little cash.
7) Use a thin linen tea towel if you run out of cheesecloth. Also, a chinois is nice, but it takes up a lot of space. Sub a smaller strainer with cheesecloth if you need to create a silky smooth sauce.
8) Use any thicker sheet of flexible plastic that you may have (like a placemat) in place of a sushi roll mat.
9) Lastly, these are not really sub ideas, but I thought I would include them: if you are just starting to stock your kitchen (but you want to get a little more creative with your cooking) try purchasing small, inexpensive gadgets such as veggie peelers, melon ballers, small ice cream scoops, and zesters. These types of items will allow you to garnish and create interesting shapes for your dishes without a lot of expense. You will obviously need to make a few larger purchases when first setting up a kitchen, so you might try items that have several uses. For example, I love slow cookers for a good stew, etc., but you can also make things like homemade yogurt or essential oils in them. Food processors also do a host of tasks.
I am sure there are a lot of other substitutions you can make, but that’s my list for now. I will post more as I have time. The blog link I shared also offers cooking classes, so take a look to see if you might be interested (if you’re in the area).


You must be logged in to post a comment.