WhirlwinDISH 27

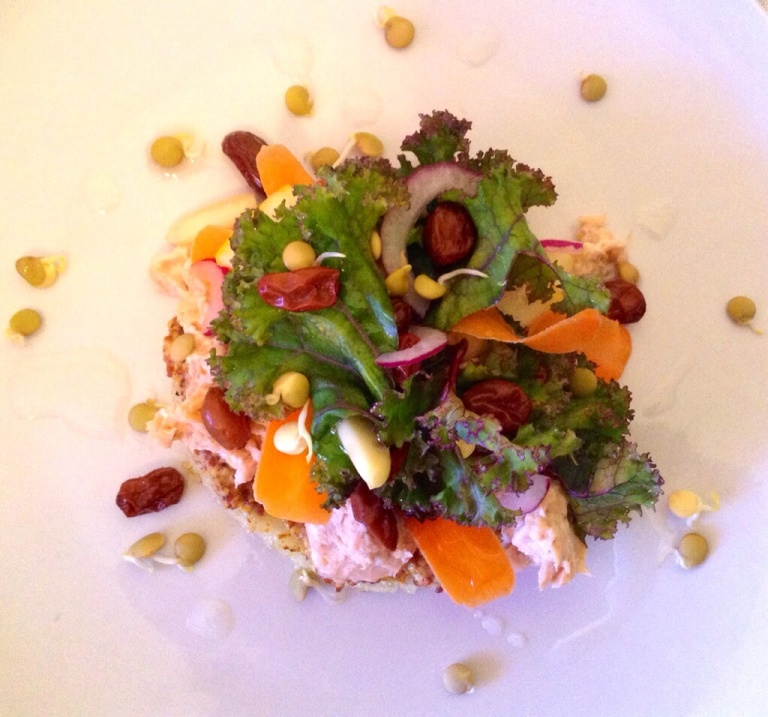
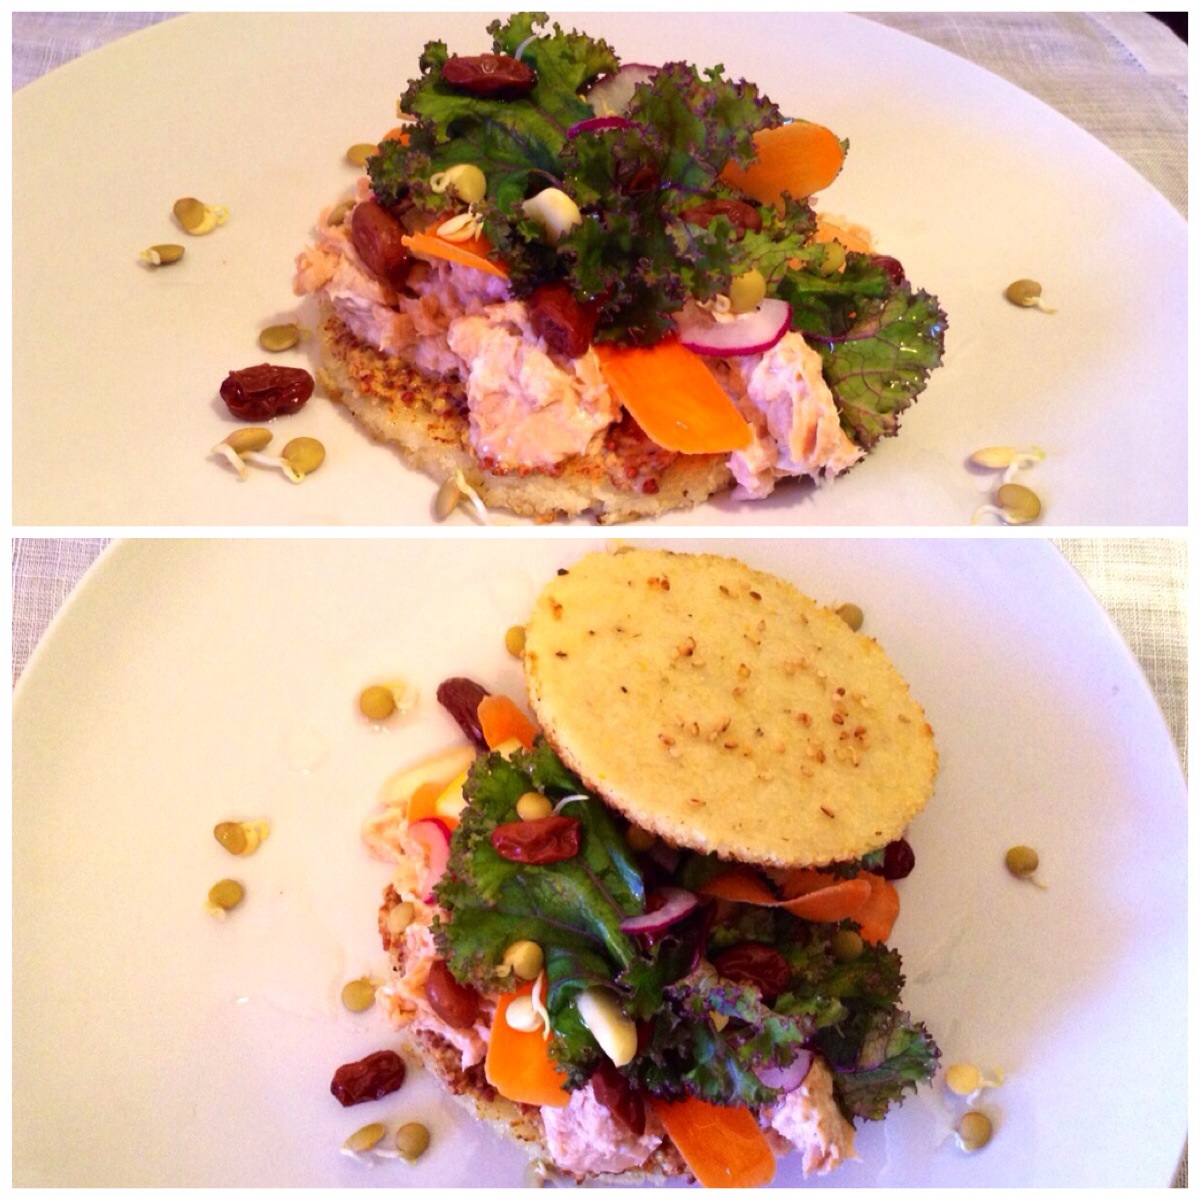
Hope you’re having a fab day! The mini sweet pepper WhirlwinDISH was inspired by a couple of things: fried, cream & cheddar cheese-filled jalapeƱo poppers and a church cafe chicken salad. I know that sounds funny, haha! As you can see, the sun was starting its descent when I snapped the pic. I did the best I could šŸ™‚ . I’ve been thinking about poppers for several weeks. I am limiting my cheese portions, though, and I rarely fry anything at home. I saw these sweet mini peppers, and dreams of those spicy, rich, poppers came back. I thought, why not stuff these with what I have on hand, and leave them raw? What did I have on hand to fill them with?…well, my first thought was that hummus would be an easy, inexpensive, & delish option. Then, I remembered a simple chicken salad from a church cafe in Phoenix (it came with a side of sliced bell peppers). I don’t know how many times I ordered that, but it always hit the spot! No chicken in sight, though. I did have salmon, so I decided to sub it. The jalapeƱo was the stuffer instead of the stuffee for these 2 fillings: Raw Sweet Pepper Poppers Filled w/ Edamame-JalapeƱo Hummus & Salmon Salad w/ JalapeƱo Mayo.
image
The Hummus Filling– Standard hummus w/ these changes: I made a roasted pistachio butter vs. tahini for the 1/2 garbanzo, 1/2 edamame hummus. And, I added a little parsley for a bit of green, jalapeƱo for a little kick. Totally simple.

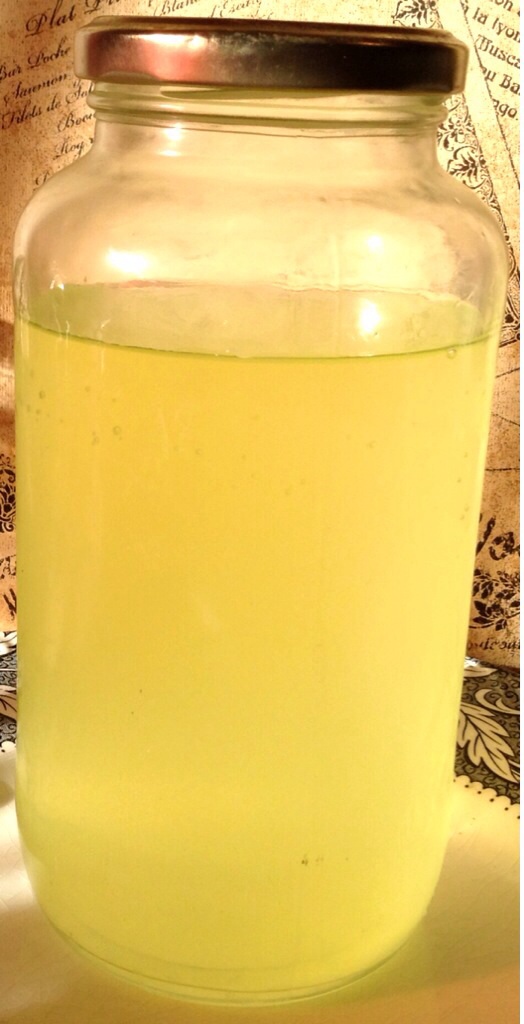
The Salmon Salad Filling — Salmon with mayo & relish. Homemade extra-virgin olive oil mayo with egg, extra-virgin, chia seed powder, garlic powder, pinch of mustard, vinegar, s & p, jalapeƱo. When I started to drizzle in the oil, I thought I could use chia seed powder to thicken up the mixture. This allowed me to cut down the amount of oil used. The church cafe chicken salad didn’t have relish in it, but I decided to add some at the last minute. I diced up a few homemade sweet pickles.

I can’t believe how much I loved the mini peppers! They have a milder, sweeter flavor than when they are full grown. It’s hard to believe growing up I detested raw peppers and onion, lol! If you see any of these peppers when you are out and about, I encourage you to try filling them with whatever sounds good to you (if you are a pepper person, that is šŸ˜‰ ).

image
Raw Tri-Color Cauliflower-Spinach Salad with Honey-Lemon Vinaigrette. Colorful cauliflower was calling for me to make a salad. I was just missing the purple variety! I had a little more light with these pics. I poured the dressing on after I took the pic and let it sit for a bit (while I checked off a few things on my “to-do” list.). This allowed the flavors to mingle for a while. Salad: tri-colored cauliflower (white, orange, and green), baby spinach, pistachios, red onion, dried cranberries, raisins, and mini red sweet peppers. Easy vin: lemon juice, extra-virgin olive oil, honey, shallots, garlic, s&p.

image
This simple, but super colorful dish made me so happy! Sometimes, you just need a bit of color to perk you up and brighten your day. Both dishes were very satisfying, without being overly heavy. I may consider them for the next potluck I’m invited to!

Have a great weekend!

Fermented Foods

Happy Columbus Day! Hopefully, many of you in the States are off for the day. After posting about basic equipment for your kitchen, I was inspired to make a batch of homemade yogurt in my slow cooker. Homemade yogurt is so easy (though I still love to purchase Noosa Honey Yogurt. SO good!). That led me to this post about fermented foods. I started to take an even greater interest in fermentation after reading about how awesome homemade sauerkraut is for us. Please follow that link for some great info on the fabulousness of fermentation.

I tried to find easy instructions for homemade yogurt to post, and I thought this link gave pretty good info: Slow Cooker Yogurt. I have made mine similar to this method. I keep the yogurt base plain and add flavorings later as desired. *This is a little off the topic, but…if you don’t fancy having a bath towel sitting on your kitchen countertop to keep your yogurt warm, you can always make a fabric cover for it. You can do one totally from scratch or take a short cut. My short cut tip is to take a pillowcase or bag with a pattern you like (perhaps matching your kitchen colors) and sew a thick material to the inside. You can also do a layer of insulation in between. Obviously you would measure it to the size of your pot. You can sew elastic around the top of the case/bag for a snugger fit. If you are a stellar sewer, though, you can just do the whole thing from a piece of fabric (and get as creative as you like). I think a quilted pattern would be cute.*

Once I have my yogurt made, I use a lined strainer to drain the liquid from it. 1 gallon of milk gives me about 2 1/2 of these 24 oz. jars.
image

It’s nice and thick after draining, but you can always add a little Kosher gelatin if you want. There are so many uses for your homemade yogurt, both plain and sweetened. You can use it as you would sour cream, cream cheese, creme fraiche, make frozen yogurt, add it to smoothies, and so much more. I used it to replace mayo here:
image

–In case you’re interested, that is salmon salad with spicy grain mustard and a carrot, homemade pickled raisins, pickled garlic, apple, red onion, and lentil sprout salad. Don’t laugh, but I got on this kick of putting things on “fried” polenta “buns.” I’m sure it’s just a phase. I used nutritional yeast in that pic (to save a few cals), but my fave is to add sharp cheddar, parm, or other cheeses. I love the toasted sesame seeds on top.–

Fruit & yogurt parfaits are one of my favorite things to make with my yogurt:
image

I think yogurt making is an especially fun activity for kids to watch, and you can teach them about the process of fermentation. After I have drained the liquid (whey) from my yogurt, I start on my other fermented foods. You don’t always have to use whey, but I try to make use of it. I mentioned the sauerkraut, but I’m making cultured salsas now, as well. They are both super simple.
image

And, I fermented beets and just a bit of kale for the first time.
image

The kale was an experiment. I may use it for a different spin to my Polish dogs and kraut…or something…I don’t know. I miss all the Polish food I grew up with in NY! We have a couple Polish restaurants here in Tucson, though. I need to get to them more often.

Here are a few recipes & tips to give you an idea of what to do (and why you’re doing it).

Benefits of Fermented Foods,

Lacto-fermented Salsa,

Cultured Salsa,

Lacto-fermented Sauerkraut

The salt you use is also very important, so this link will give you a little insight into that: Choosing Salt for Fermenting

Have a great rest of the Holiday & Happy Fermenting!

Recycled Containers & DIY Adhesive Remover

OK, I admit I probably recycle too many containers. I periodically have to go through them (usually when there is no more space) to decide which ones I should keep…and let me tell you — it’s an inner battle! If I start thinking about all of the things I can do with them, it will never happen. I have to just hold my breath and do it cold turkey. I also admit I sometimes just buy products for the container they are in and not the actual product itself. So, I usually keep those.

I have way more, but about a few of the ones I’ve pictured: My current fave containers are my Noosa Yoghurts (The BEST Yoghurt! SO good!). The 8 oz. is a perfect one portion meal size (and the 16 oz. for two) — great to go in the fridge or freezer. They are also great for organizing smaller objects like ‘shop’ type items (nails, screws, nuts and bolts), office supplies, craft supplies, etc. I also love the large containers that many spices come in with a 2-sided flip top (see pic, with the green top). They are designed to be easy to hold, so you can grab them quickly out of the cupboard. I usually store bulk grains or rice in mine, but they could be used for a number of things. I have other purchased storage containers I can (and do) use, but I like that the ‘pour’ side of the top makes for easy measuring. Also, even if it’s not your brand of choice, check out the pic of the cute soy sauce bottle. It has a stopper inside, so you can take it with you to the office or wherever for lunch. If you don’t do soy sauce, it’s great for vinaigrettes, etc.

You can also always use your containers for your own homemade versions of what you purchased. I do that with hot sauce, mustard, nut butters, mayo, and more. You can use a soup can in place of a cookie cutter, but I also collect them around the holidays to bake quick breads in to give as gifts. I’m not the only one recycling, though. My fave coffee shop recycles their jelly jars into customer to-go juice jars. So, of course I keep those. šŸ™‚

Lastly, if you are a container recycler like I am, here’s a link for a homemade chemical-free adhesive remover. It’s just a mixture of coconut oil and baking soda. I found links that also called for a few drops of essential oil or just essential oil and baking soda. I have used nut butter and baking soda and found that to be successful (and possibly cheaper). I tried just nut butter first because I remembered it is advised to put it in kids’ (or perhaps adults’) hair to remove chewing gum. It was OK, but the addition of baking soda really helped it along. I always soak the label in hot water first to see if that will do the trick. If the adhesive is fairly old and sticky, try using a scrubby or stainless steel sponge after applying the oil and baking soda.
image